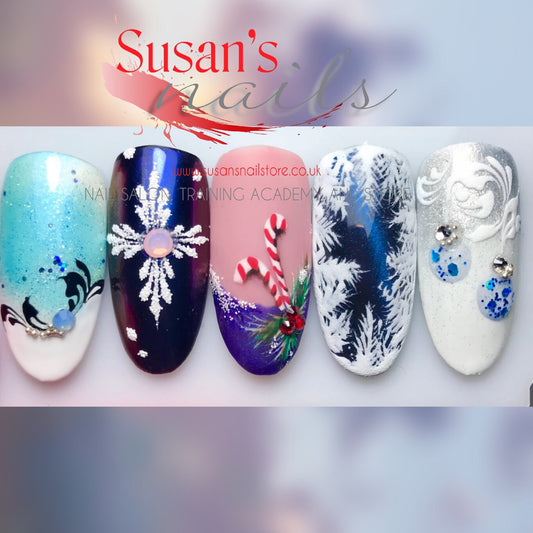
Freehand painting is one of my favourite and possibly the quickest nail art you can ever use in salon.
As spring is here, all clients prefer to have flowers on their nails, so why not giving them what they want?!?!?!?
With this quick step by step pictures, you can easily create stunning roses on your clients nails.

Step 1:choose your background colour and cure.
Step 2: paint on a French style smile line but do not cure.
Step 3: with a sponge, bring the colour down towards to the free edge. Cure.
Step 4: start painting on your rose. Cure.
Step 5: add another rose to your composition. Cure.
Step 6: extend your composition with some leaves and a sparkling grey line. Cure.
If you want to watch a video how to create this look, check this out


