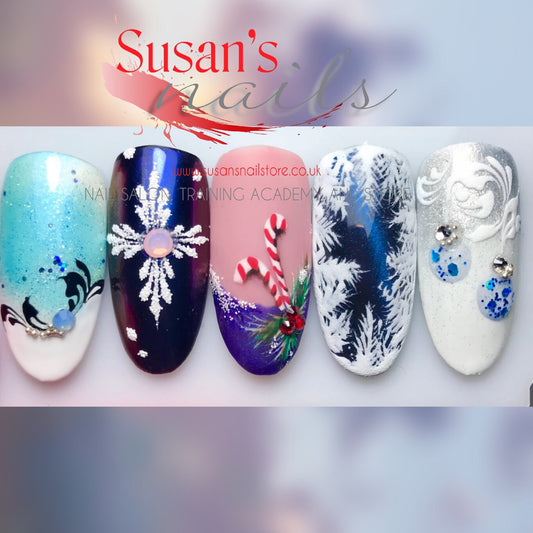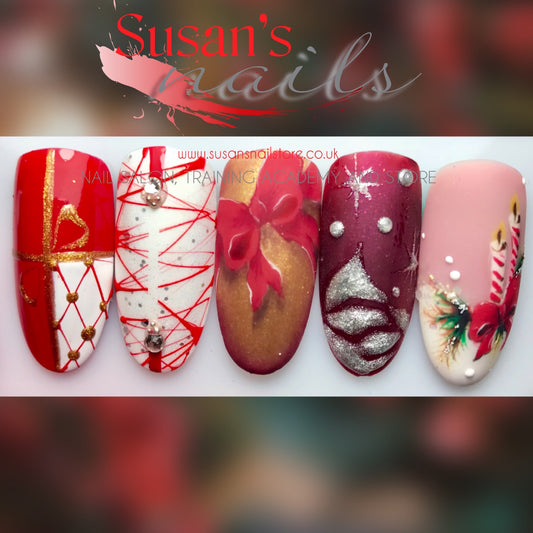

Finally I had some time to show you how do we use the new NABA Q gels to create the famous babyboomer (French fade) look. It is a very popular look among clients time and time again. The look itself is a faded French or pink and white look. More natural and regrowth free comparing to classic pink and white look.
Any nail art looks amazing on it, from sugar effect to gel painting.
In this blog, I am going to show you my step by step pictures as well as an extra tip if you find it difficult to blend the colours together.
The very first thing to do is obviously the preparation of the natural nail. I do not want to go into details how to do it correctly as you as a nail technician learnt this during your very first lessons on your course. As every company says and I followed this advice during my whole carrier too, use the preparation liquids recommended by the company.
Needless to say if you swap these to something else, or not using at all do not be surprised if something happens to the nail. Yes, it does matter like it or not. I normally just use NABA Nail Prep, either with brush or the spary version of it (or both if my client has got sweaty hands and I am going to sculpt) and NABA Ultrabond which works as a double sticky tape.
Either you are using tips or forms to extend the nail or just simply doing a gel overlay on the natural nail, the steps are more or less the same.
If you are doing an extension (tip or form) your first step is to extend the natural nail.


top view side view sculpted nail
If you are doing a natural nail overlay with gel then the first thin layer of gel or base gel come first.
Next step to apply the Q gel extreme white. After application, wash out the top line of your white gel. You can do it simply with your builder #6 cat brush. And cure. You can cure the Q gels in your UV or LED lamp too. Curing times will vary, depending on your lamp.


This is how it looks like on a nail.

When the white free edge is done, you need to apply the Q gel Cover Pink.
Start with the cuticle area, and slowly move the product towards to the white. Wash the strong line out with your brush before you put it into the lamp.


This is how it looks like on a nail.

If your blending did not work out very well, here is a little secret what you can do. On a glass palette, have some Q gel clear and and some Q gel white.

Mix them together. Your mixture is good when the white gel loose its whiteness and it becomes a bit like milky white. See the difference?

Get some of this "milky white" on your brush and apply it on the white free edge of the nail, go over the cover pink as well a little bit. Cure. Flawless.

The next thing what you need to do is covering this nail with Q gel glass pink.

You could just use a simple clear gel too, but then you would miss out on this beauty. The glass pink gives a beautiful pinky shade to the nail. Not too much, just enough. Beautiful. Cure after application.

As gel leaves tacky layer after curing you have to cleanse the nail. Now it is ready to file and buff. For filing, I use 180/180 grit file with gel and for buffing 180/220 buffer.

To give the shine back to the nail, I use Top Gel.

And a finish picture with some sugar effect ;)

Hope I solved the mistery of babyboomer look with gel for now. Go and get some practice girls. As you know practice is one of those things we can never have enough. And chocolate but that's a different story.
Looking forward to seeing your babyboomer nails with gel. Any questions, don't forget to contact us via email and we will get back to you as soon as possible.
Lots of Love,
Susan